Ingredients
- 10 medium Bartlett pears, peeled, cored and roughly chopped
- 3 1/3 cups sugar
- 2 tsp cinnamon
- 2 tsp vanilla extract (or 1 vanilla bean)
- 1/3 cup fresh lemon juice
- 5 (8-ounce) half pint canning jars with lids and rings
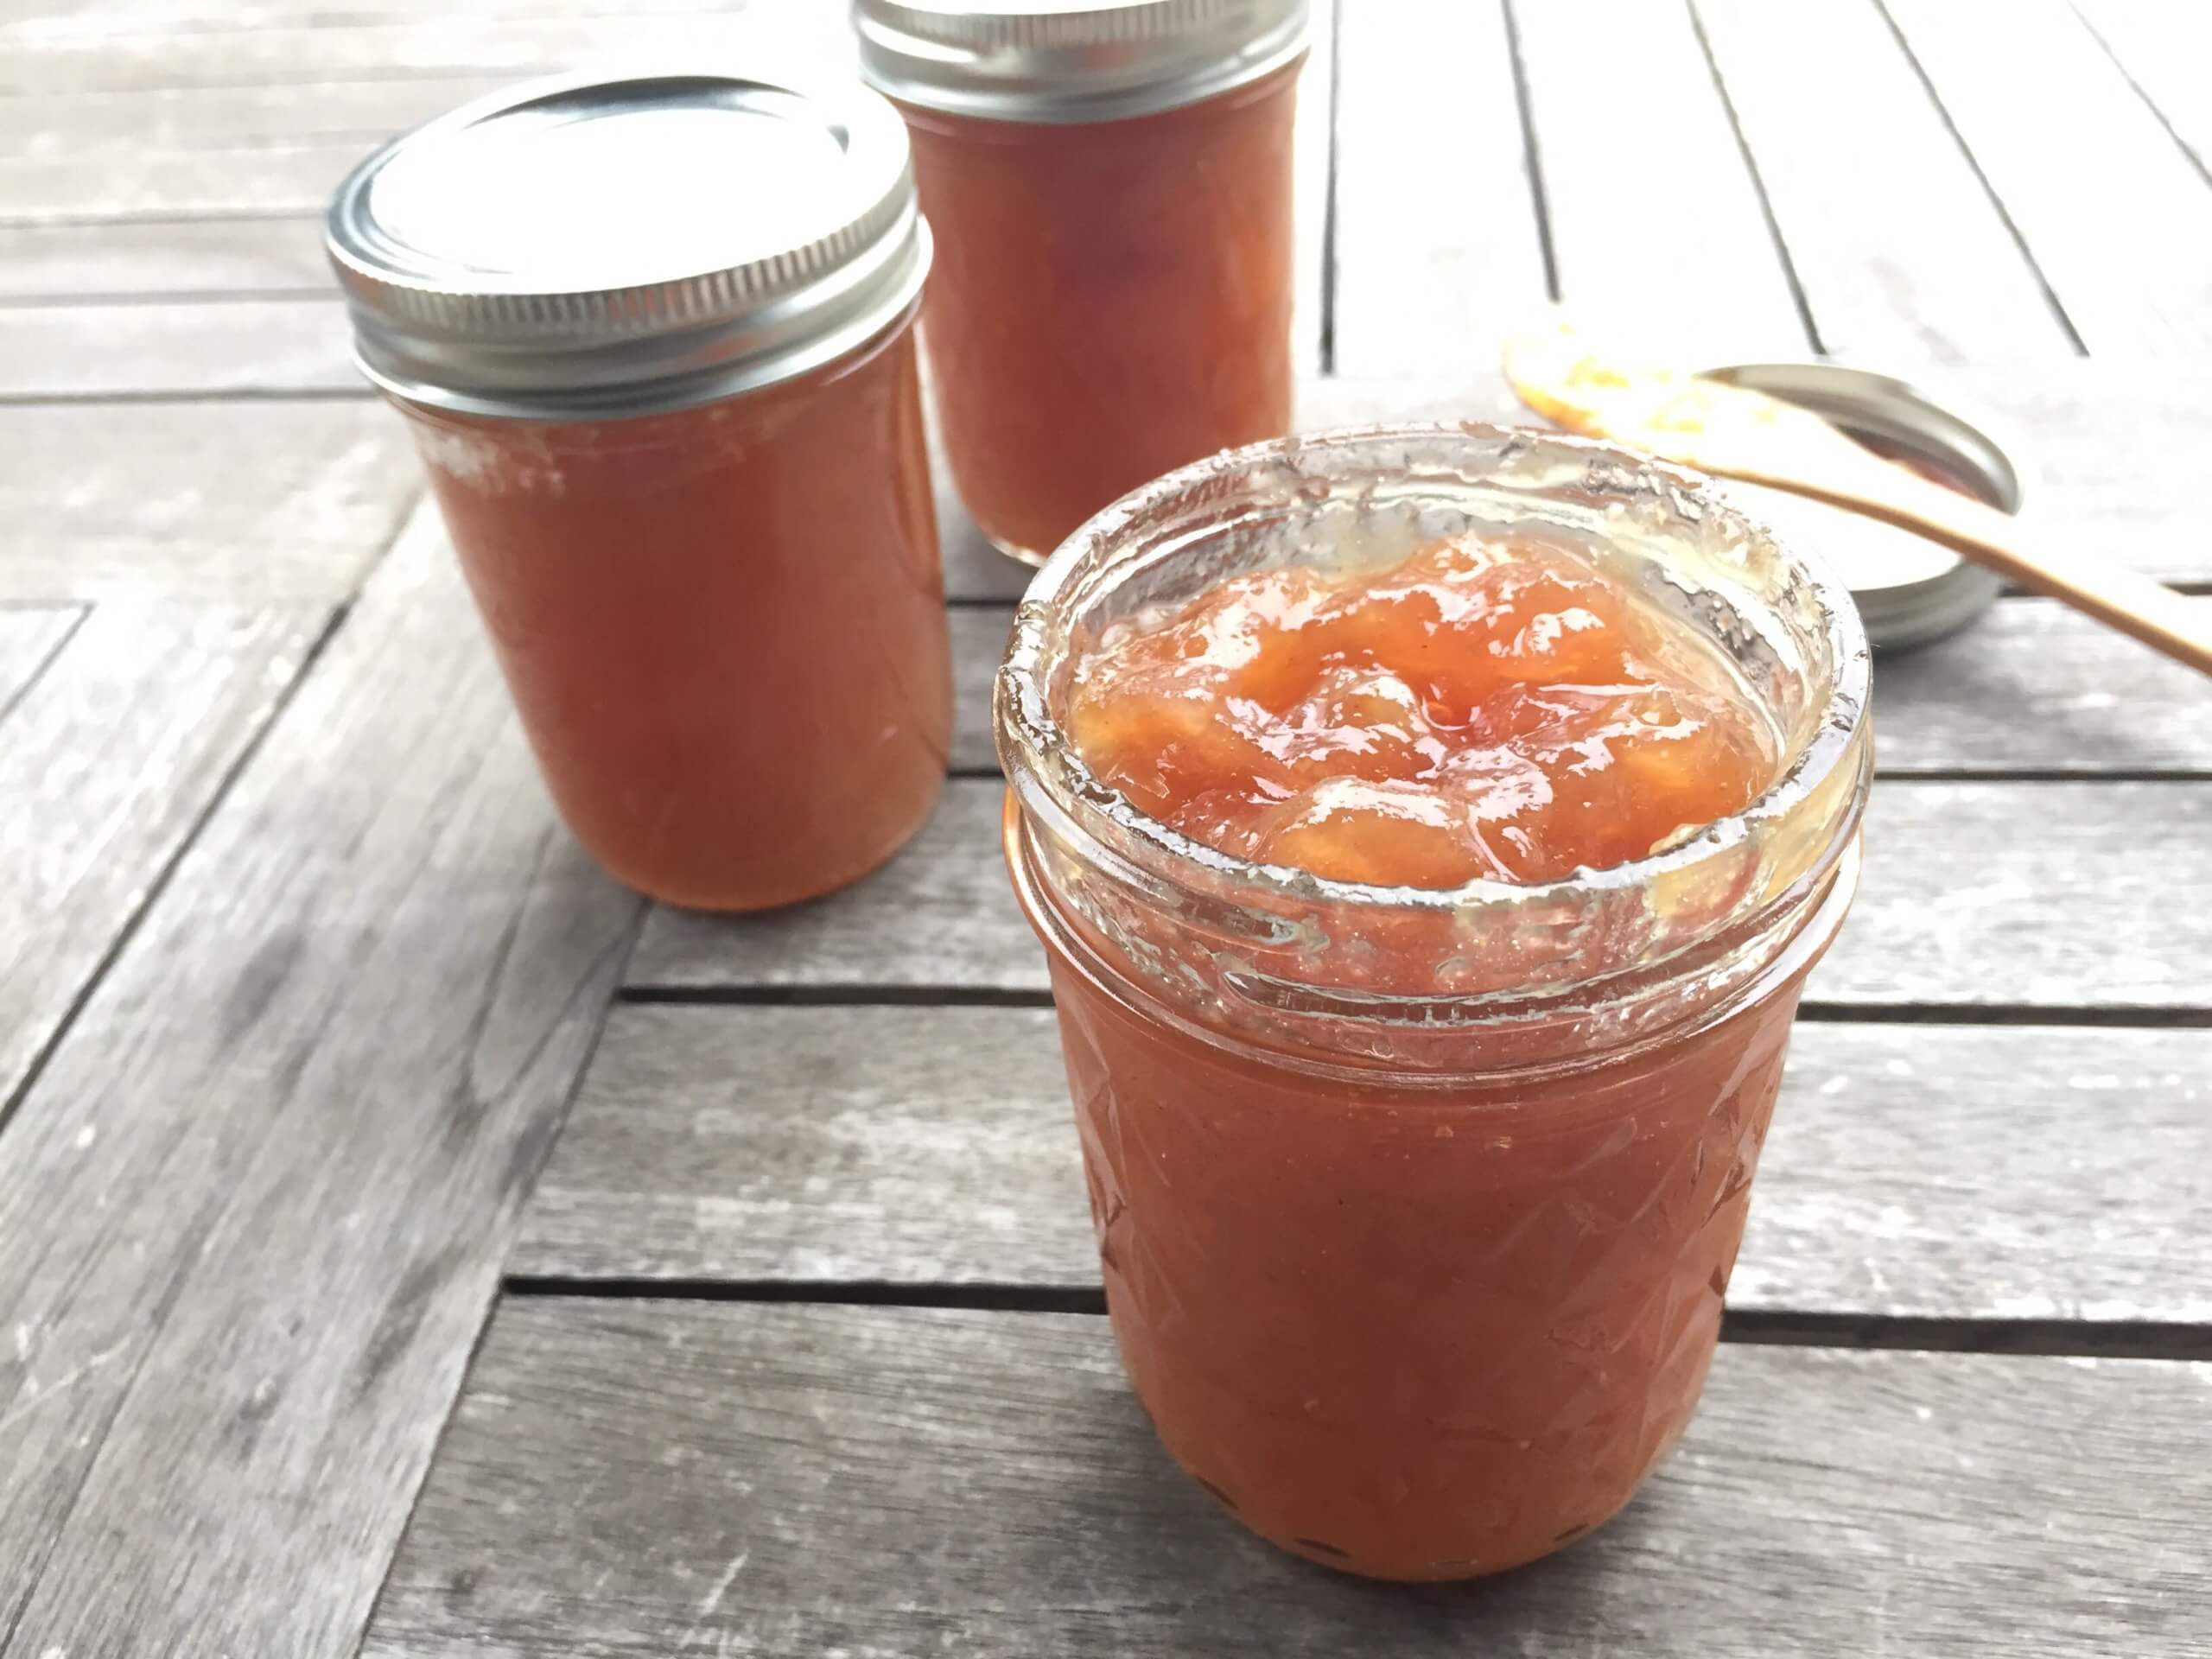
The perfect spread for biscuits, gingersnaps, or cheese, these Cinnamon Pear Preserves make a lovely holiday or housewarming gift.
Instructions
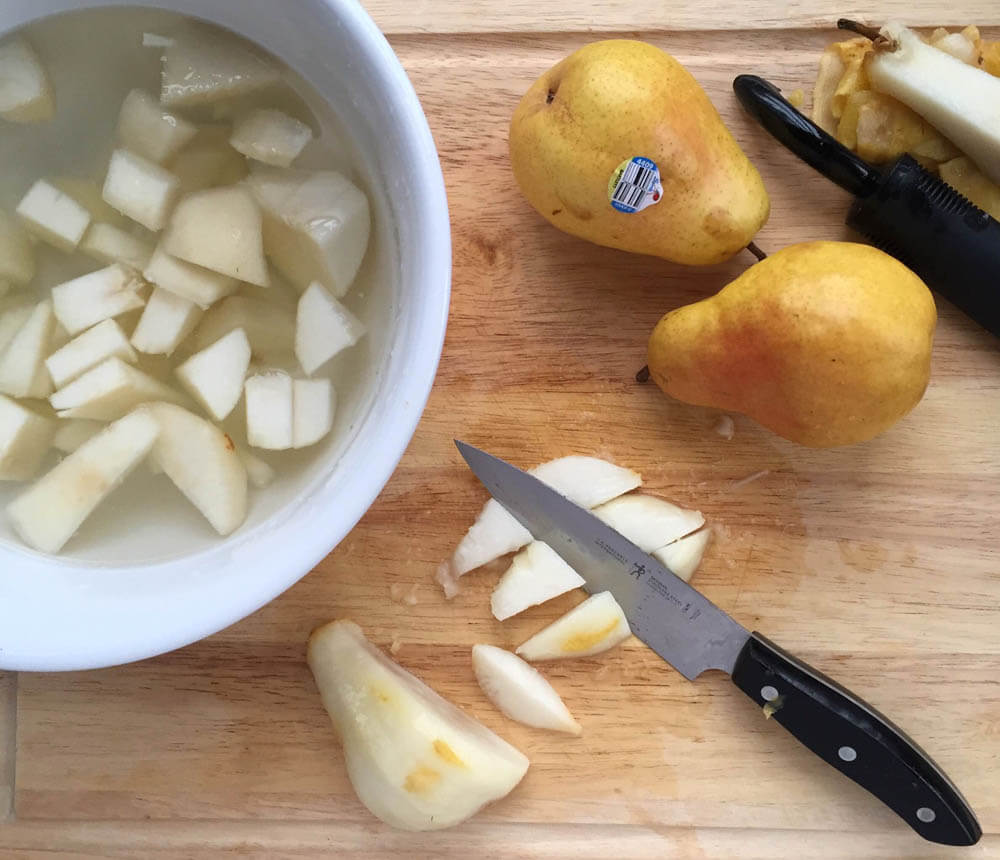
- Wash, peel, and roughly chop pears. As you’re chopping the pears, keep a large bowl filled with water and lemon juice or fruit fresh to the side so that you can immediately add the pears. (This will keep the fruit from browning as you continue to peel and chop.)
- Once you’ve prepared all of your fruit, drain the pears and measure them by the cup-full directly into a heavy-bottom pot. Use the 3:1 ratio so for every 3 cups of pears you add 1 cup of sugar.
- Add cinnamon and vanilla to the pears and stir until blended. Cover with a lid and let stand (on the countertop) overnight.
- When you’re ready to cook the pear mixture, stir in the lemon juice and bring the mixture to a boil. Do not cover the pot because you will want the steam/moisture to be released.
- Reduce the heat to medium and allow the pears to lightly boil for 1 1/2 to 4 hours or until reduced and consistency is thicker than applesauce. Make sure to stir often to prevent the preserves from sticking to the bottom of the pan.
- During the last 15-20 minutes of cooking, warm clean jars and lids in the oven at 225 degrees F for 10 minutes to sterilize.
- Ladle hot Cinnamon Pear Preserves into hot jars leaving ¼-inch headspace. Remove air bubbles.
- Wipe rim with a clean cloth. Center the lid on the jars and apply the band until it is fingertip tight. (AKA use your hands to tighten and not a special tightening device.)
- Process jars by boiling in water for 10 minutes. Jars must be covered with at least 1 inch of water.
- Remove jars and cool. Check lids for seal after 24 hours. Lids should not flex up and down when the center is pressed.
Notes:
- The cook time will vary based on the amount of pears you have, how ripe they were before cooking, etc. It took my 10 cups of ripe pears 2 hours to cook. In hindsight, I probably could have let them go another hour.
- The Ball website says that it is no longer necessary to sterilize jars and lids before adding the preserves since they will sterilize during the last step of preserving. However, if you choose to forego the last step and eat your preserves immediately then step 6 isn’t necessary. Since the jars need to be warm anyways to keep them from cracking when the hot preserves are added, I figured it doesn’t hurt to sterilize them ahead (just in case…).
Nutritional Information
Per Serving
- Calories: 188
- Fat Content: 0.2g
- Cholesterol Content: 0mg
- Sodium Content: 2mg
- Carbohydrate Content: 49.6g
- Fiber Content: 3.4g
- Sugar Content: 43.7g
- Protein Content: 0.4g

 Nostalgia Factor


 (41 votes, average: 4.10 out of 5)